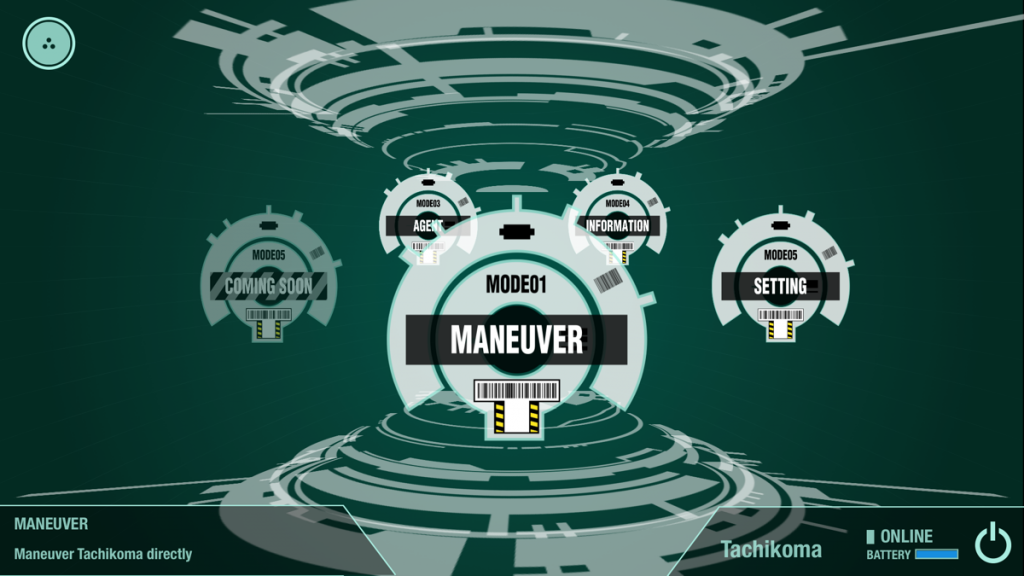
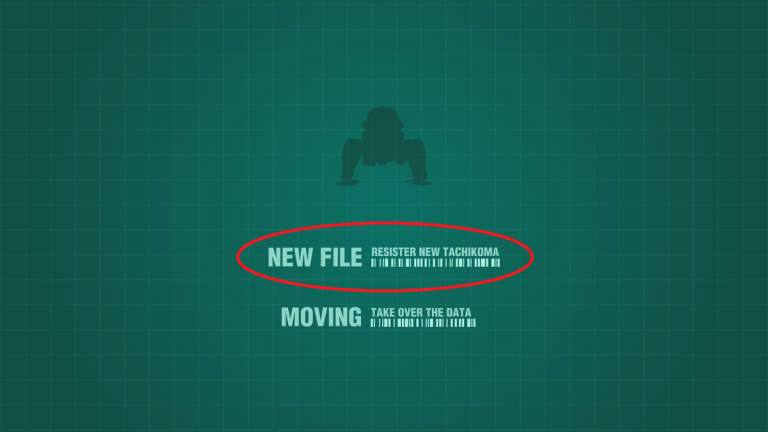
1. Launch the app
Launch the “1/8 TACHIKOMA” app and tap [NEW FILE].
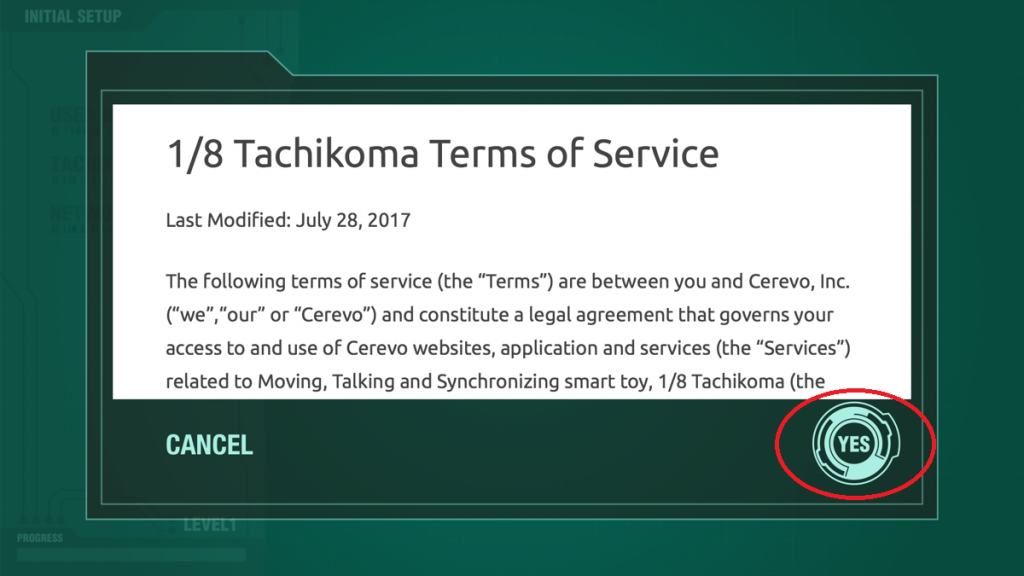
2. Agree to 1/8 Tachikoma Terms of Service
Read the Terms of Service and tap [YES] to agree to it.
3. Boot your Tachikoma
Press and hold the bottom button for 3 seconds to boot your Tachikoma, then tap [YES].

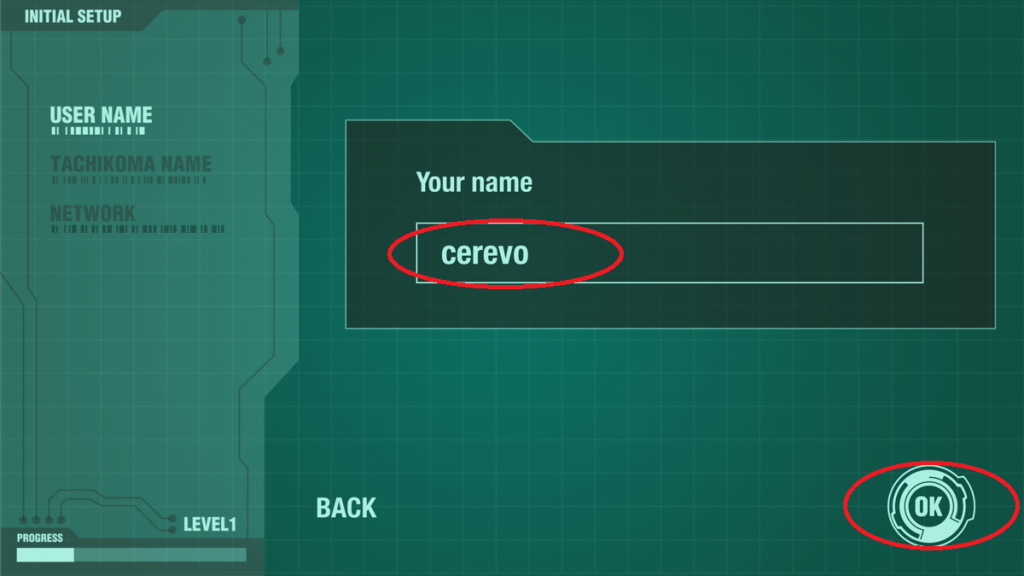
4. Enter your user name
Tap the input form and enter your user name, then tap [OK].
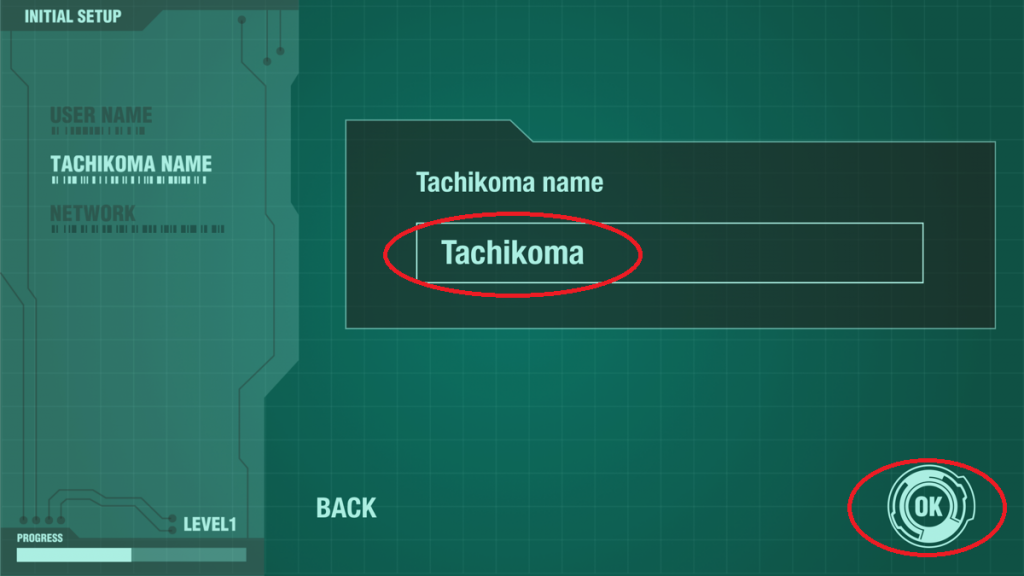
5. Enter Tachikoma’s name
Tap the input form and enter the name for your Tachikoma, then tap [OK].
The default name is “Tachikoma”.
6. Enter SSID
The SSID which your smartphone is connected to will be displayed by default. If you want Tachikoma to connect to another SSID, tap the form and enter the SSID.
Next, tap [OK].
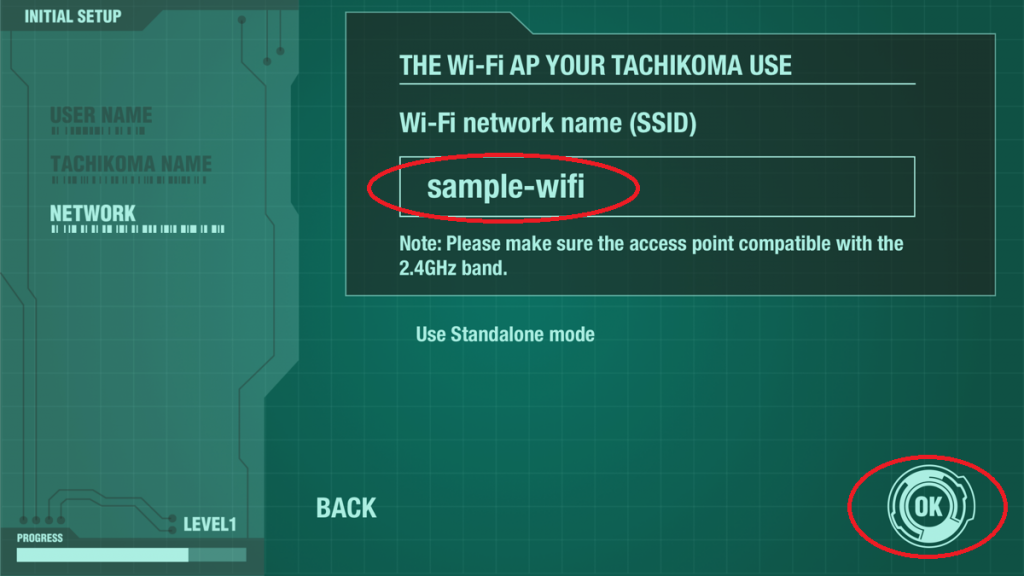
*For full functionality Tachikoma requires an internet connection.
Some functions can be used without an internet connection, please use “Standalone mode” when there is no connection available.
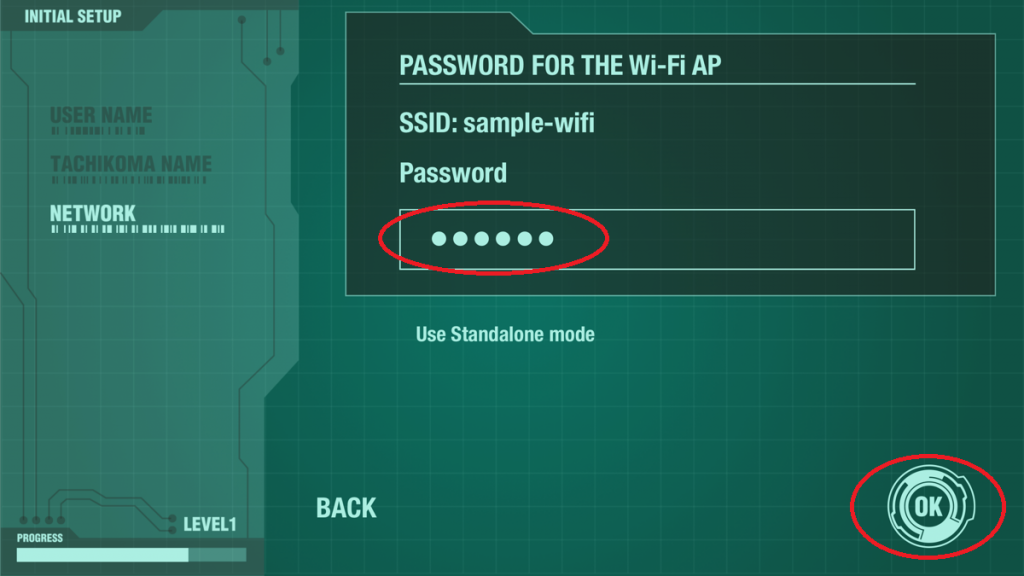
7. Enter Wi-Fi password
Enter the Wi-Fi password, tap [OK] and confirm the QR code is displayed in the app.
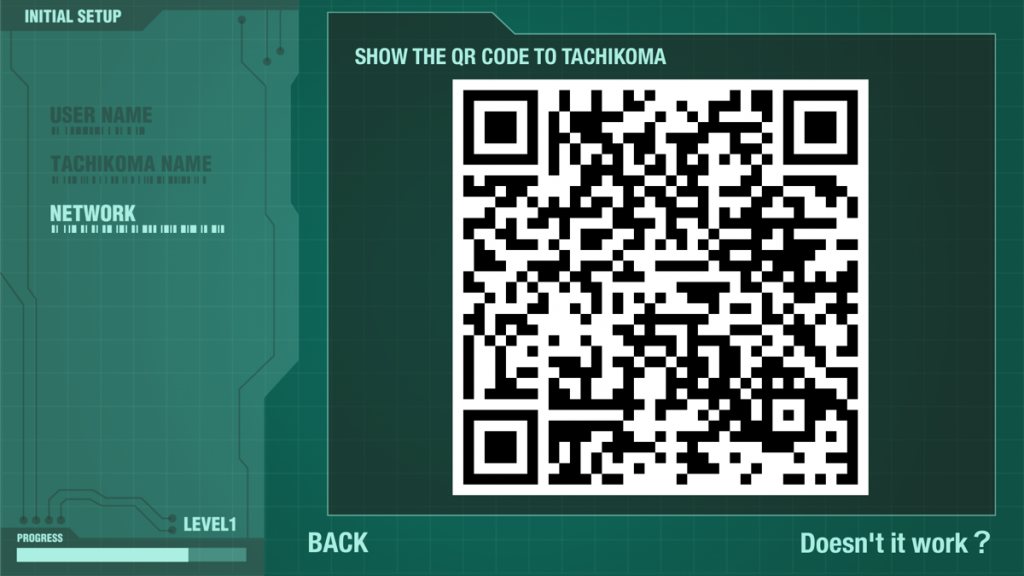
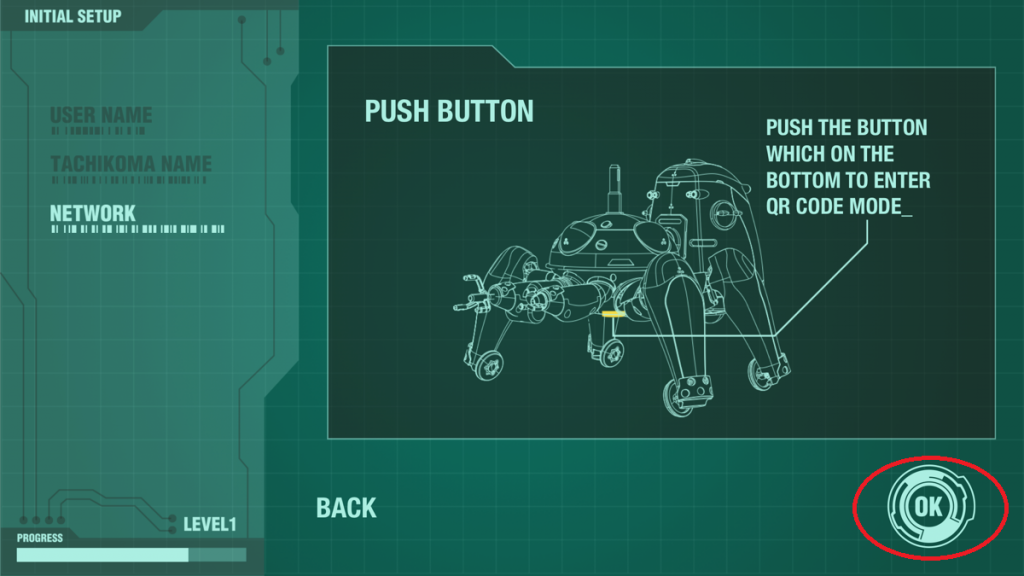
8. QR code mode
Press the button on the bottom to enter QR code mode.
Tachikoma will say a greeting, “Ha-a-a-i !!”, “Na-n-de-sho-u”, etc. when it enters QR code mode.
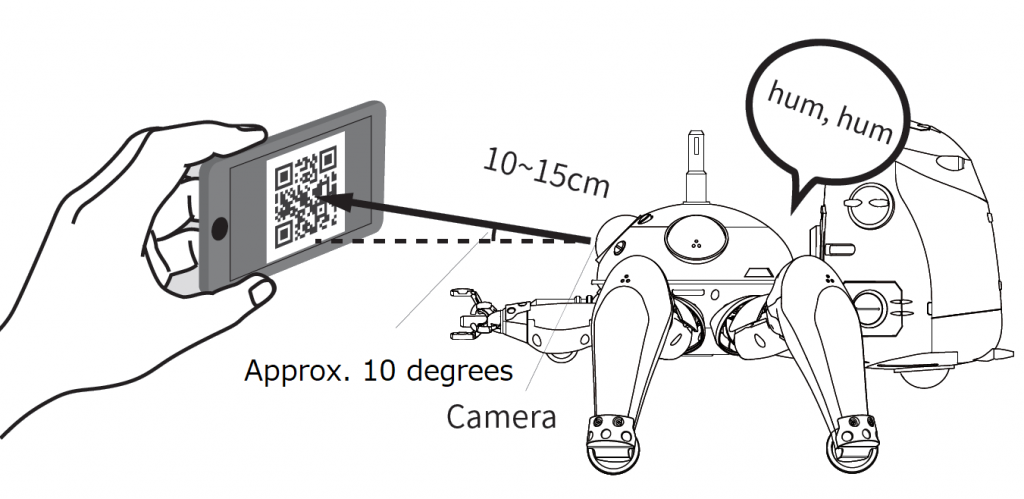
9. Make Tachikoma read the QR code
Hold your phone 10-15 cm from Tachikoma’s camera. Tachikoma says “Hum, Hum” when reading the QR code is successful.
10. Complete initial setup
The image below will be displayed in the app when initial setup is complete.